Cognex A5000 3D Scanner
Information: The basic configuration of the A5000 should be done in the A5000 Viewer.
Step 1: Assign A5000 to the inspection program as camera
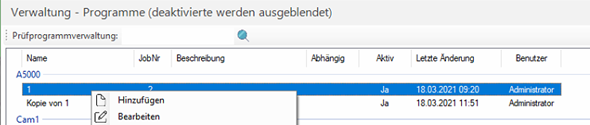
A new program is now assigned to the sensor in the program menu:

Under Administration > Programs > Right Mouse Button in Window > Add
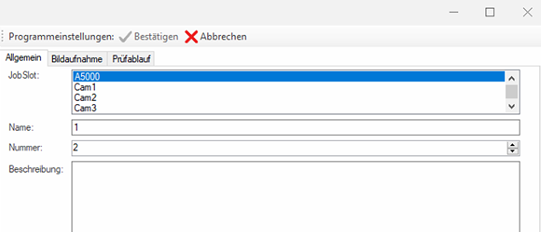
In the first tab "General" the program is assigned to a station and a name and a number are assigned to the program.
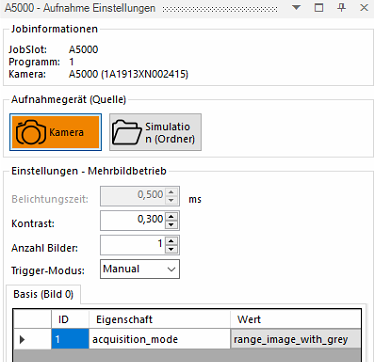
In the second tab, Acquisition Mode is added under Settings.
When initializing the A5000, the default settings previously configured with the A5000 Viewer are loaded.
These settings can be overwritten by any inspection program. For this purpose, the corresponding parameter can be added and changed via the program management.
Set the trigger mode to Manuel for software or fieldbus triggering.
With the option "acquisition_Mode" -> "Range Image with Grey" the 3D and grey image is acquired with the scanner.

For software or Fledbus triggering set the trigger mode to Manuel.
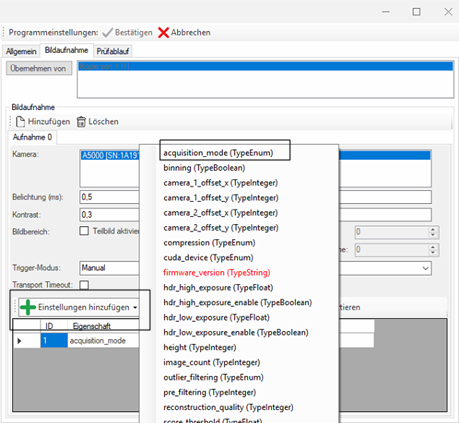
This is set to "Range Image with Grey" if 3D and grey image are to be captured.
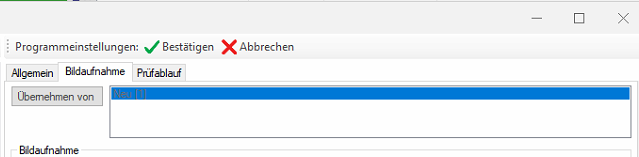
After that the program can be confirmed.
Step 2: Integration into the inspection sequence
To evaluate the scanner images, the station is assigned to the sensor and the corresponding program is selected.
After that the flow of the program will be opened.

In the flow, the toolbox can be opened via the tool icon and the Cog3DRangeGreySplitterScript can be pulled out under 3D Tools and pushed into the flow..
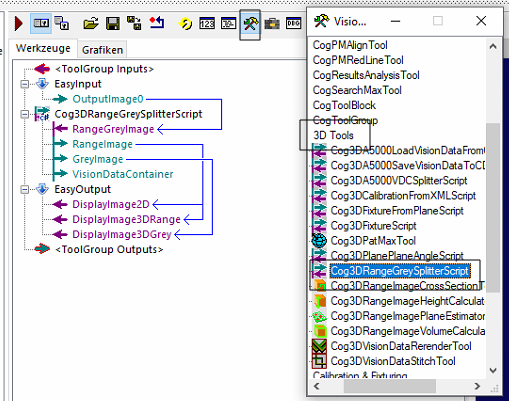
To insert the block into the sequence: Left mouse button on tool icon 3D-Tools- > Cog3DRangeGreySplitterScript > Drag into the sequence with the left mouse button
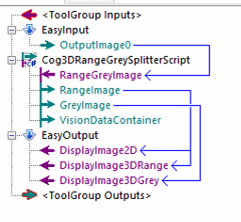
To link the block in the program: Drag the outputs of the tool to the corresponding EasyOutput with the left mouse button .
With a double click on the EasyOutput the display can be parameterized.
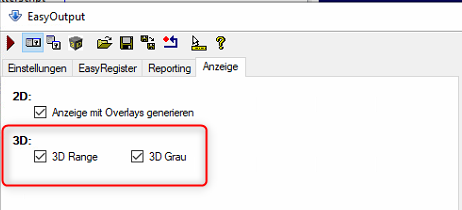
In the Display tab, the 3D range image and the 3D gray image are switched on.
Information: Das 3D Display kann in den Layout Einstellungen der Station aktiviert werden.
Configuration of the acquisition settings
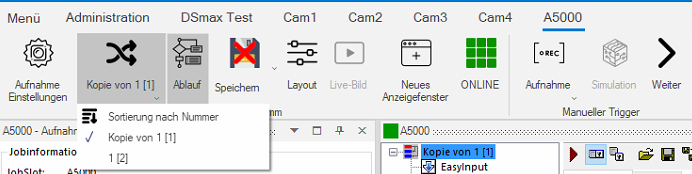
Now the trigger type is set in the recording settings

Here the trigger mode is set to Manual
After that, the image acquisition can be started. The sensor must be online for this.